Monday, September 27, 2010

How to build a tree house - walls

Here is the drawing I put together to build the walls from. Nothing fancy, but it helped me think about quantities of wood and how I would need to cut the 2x4's to allow for the sloped shed roof.

I built the walls on the ground in my driveway so that they would be square and flat. This is nearly impossible to do on rough ground. Make sure you buy your doors and windows prior to building the walls so that you can make your rough openings large enough for them. I got this solid wood door, two windows and door hardware at our local Habitat for Humanity re-sale store for $27.


We built one end wall with 7' tall 2x4's, the other end with full 8' 2x4's and sloped walls connecting in between. This allows for a shed roof with 1' of fall. Note the slope of the wall leaning against the truck. We tilted the walls up in the driveway to make sure they lined up before we carried them to the site on the back of the truck, hoisted them up one by one and nailed them together. I needed the help of two neighbors to get them to the site, and lift them up to the deck 10' off the ground. Up to this point, the deck and floor joists have all been screwed together, but the walls are just nailed together. The bottom board of each wall is treated lumber, but the vertical studs and top of the wall are not treated as they will be protected by a roof and siding eventually. Up to this point all floor joists, posts and deck boards have been treated lumber.
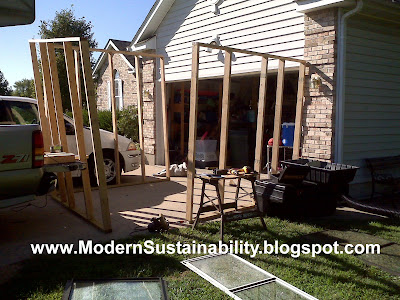

By having the windows and doors to measure, you can be sure to make your openings the correct width, so that they can be easily installed up in the tree house.
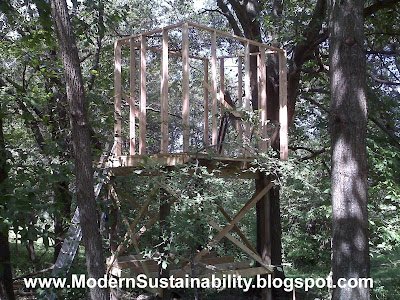

Here are the walls installed up on the deck. It is starting to look like a tree house.
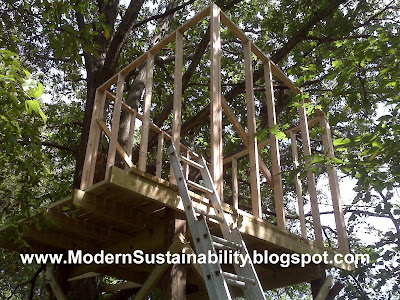

Here you can see the tree house that is approximately 8' x 8' on the 8' x 12' deck so that there is a 4' x 8' deck outside the front door. The angled boards on the inside are used to make sure the walls are square and vertical. They will not be needed when the roof joists and siding are on the outside.


How to build a tree house - supports

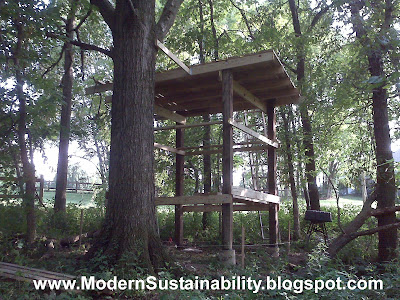
The next step is to install the 6" x 6" x 10' posts to build the upper levels on. You may need some help with this step as these posts can be very heavy. I used recycled posts that had already been in the ground as a retaining wall for 15 years so I did not want to direct bury them. This ought to keep them solid for at least another 20 years as they should not have direct contact with moisture and they can completely dry out after every rain. I screwed a heavy-duty plastic base on each post that has a hole for the rebar to go through in the middle. This elevates the post off of the concrete to further extend the life of the wood post. Some people choose to bury their posts in the ground with concrete around the posts. I did not want to lose the extra 3' of height and wanted to avoid the posts being in contact with constant moisture in the ground.

If you look closely you can see the plastic bases on top of the concrete footing. I used the future deck boards to hold the posts vertical as they were going up.

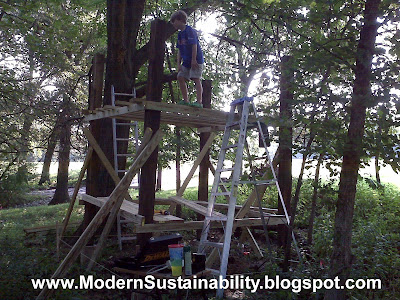
We built scaffolding levels as we worked our way up so that we had a safe place to work from. We used the future deck boards so that we were not having to buy extra lumber.


It took us two levels of scaffolding to get up to our 10' high deck level that the tree house will sit on.


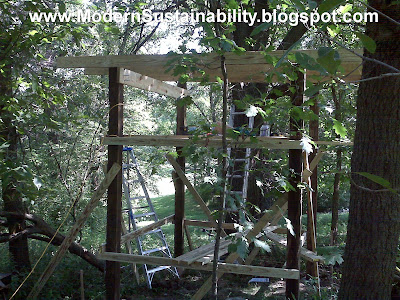
The permanent floor joists are bolted in place with 10" x 3/8" bolts. Consult with your local hardware store to see what kind of finish is needed for the bolts with the kind of treated wood you have in your state. For ACQ wood you need galvanized bolts, washers and nuts.


As we build the deck level and the posts become more solidly locked together, the support boards below are removed and used for the upper deck.


The deck is almost finished and the upper deck is bolted to the tree in two locations for stability. We decided to build a lower level because it was such a cool space below the deck.


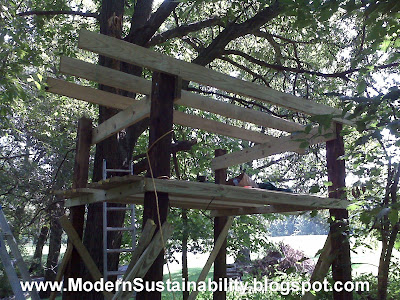
The deck is complete with 2' cantilever at each end for a total deck space of 8' x 12' Notice how we decided to add diagonal 2x4x10's to make sure the upper deck was solid as a rock. It was pretty safe before the diagonals, but I wanted to make sure that nothing would move once the house portion was added on top of the deck. The diagonals made a huge difference.


Quite a view from up here! 10' is really high. This represents about two weekends of work.


How to build a tree house - concrete

OK, what does a tree house have to do with sustainability? I am considering this to be a laboratory to teach my kids, ages 6-9, about solar power and energy use. If things go well, it will also be a house heated by wood and cooled by shade and wind. I hope it is a place where they will learn about solar panels, batteries, inverters and how much energy lights and fans use.

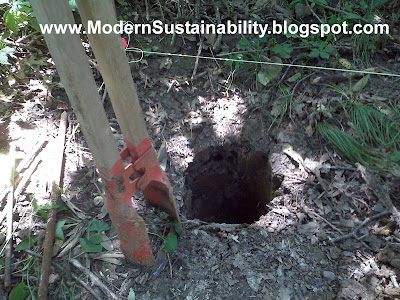
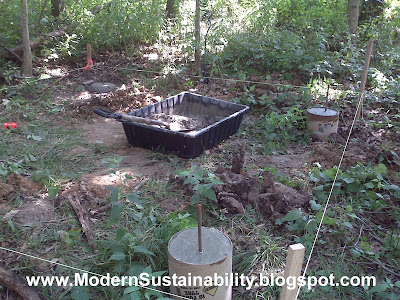
We dug the footing piers as close to safe frost depth as possible and about 12" wide. In central Missouri this is 36" deep. I used a post hole digger (shown above).

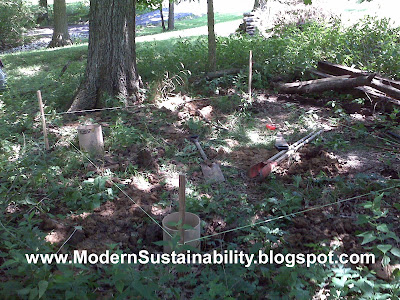
I tried my best to dig the piers 7'-6" on center so that 6"x6"x10' support posts with 8' boards around the outside would create an 8' x 8' square. This makes for an easy deck level with no cutting of lumber later. The stakes and string are used to measure things closely, keep things square and level the footing piers. Remenber A squared + B squared = C squared? Or a rectangle that is 3' x 4' x 5' will always form a 90 degree angle. This will help keep things square.


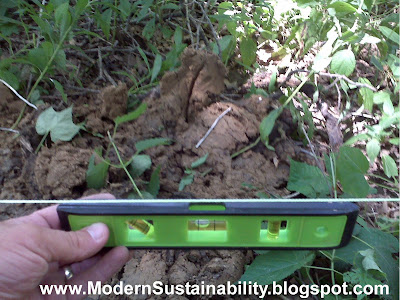
Using a level, I verified that the string line was level all the way around. Because the ground is not level, I could measure the same distance down from the string to the top of the concrete piers and make sure that all concrete is the same height.


Where the ground was lower, I used Sonotube to elevate the footing form to the height of the holes that were flush with the ground. A plastic tub and bags of concrete were used to mix the concrete in the woods.


We mixed the concrete by adding water from our hose until it was thoroughly wet, but not runny.


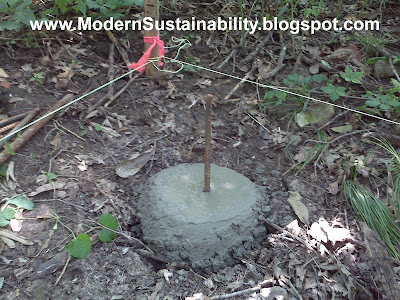
One of the pier footings flush with the ground, troweled smooth and a rebar set in the center. A hole drilled in the posts will secure them to the footing later. This is 18" rebar that is 1/2" thick (9" in the concrete and 9" above ground).


All the concrete poured to the top of the forms and/or flush with the ground as measured from the level string line down to the concrete uniformly.


Another view of the concrete in relation to the Oak tree. Our tree house is stand alone from the tree, but later on we will attach the deck level to the tree.